
How Manage And Monitor WP-Cron Tasks In WordPress
Cron is a command to launch tasks on the server. You can run them on a schedule or at a certain interval/period of time. WP-Cron tasks can’t be launched automatically. Each task is compared with real-time and executes if needed every time someone visits a website, and the page loads. However, if you plan a task on 04:01, and there are just a few visitors on the website, the task will be executed with a delay. You can manage and monitor WP-Cron tasks from the admin area. For example: publish scheduled posts, monitor CMS updates, etc. twice a day. We will discuss the task scheduler features a bit later.
Testing WP-Cron On A Website And Fixing Issues
Usually, when you manage and monitor WP-Cron tasks, it goes smoothly. However, sometimes it doesn’t. Thus, it’s time to check WP-Cron performance on your website.
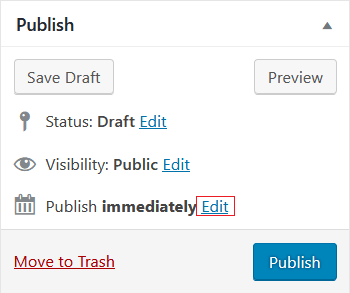
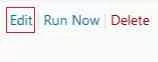
Go to the post editor, create a new post, add a title and a few lines of random text. You can use Lopem Ipsum or another dummy text. The most important here is to save and schedule the post. Check the link above the Publish button. It’s called Edit.
Follow the link to schedule the publication with a few minutes delay. Press OK.
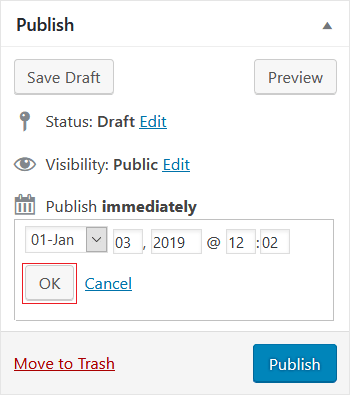
This way you get the post scheduled.
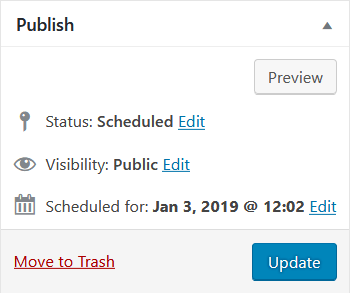
If everything is ok with a scheduler, the post will be published at a given time. Otherwise, you’ll see the following:

If you’ve managed to publish a delayed post, you don’t have to read the rest of this article.
Fixing WP-Cron
What should you do if WP-Cron works incorrectly? Here’s a first aid:
Open wp-config.php and make sure you don’t see there a line that disables the scheduler define('DISABLE_WP_CRON', true);. Remove this line if found. Run the test again. However, if there’s no define('DISABLE_WP_CRON', true);in wp-config.php, try to add another scheduler configuration:
define('DISABLE_WP_CRON', true);

define('ALTERNATE_WP_CRON', true);
If this is not enough, work with the Cron system on your hosting. Let’s try to deactivate a virtual WP-Cron. Now re-enter the code:
define('DISABLE_WP_CRON', true);
Search for a suitable tool to work with Cron. Open it, find a Command field and add the path to wp-cron.php on your website. Change sitename.com to your website address:
wget -O /dev/null http://sitename.com/wp-cron.php?doing_wp_cron
No result? Feel free to contact the hosting user support, as most virtual WP-Cron bugs occur on a server. If you are not happy with the hosting support consider moving to another hosting.
Configuration To Manage And Monitor WP-Cron Tasks In WordPress
Execution Commands For WP-Cron Tasks:
- wp_schedule_single_event() — schedule execution of a task at the predefined time;
- wp_schedule_event() — create a task that will be executed after certain intervals;
- wp_unschedule_event() — exclude a certain task from the scheduler;
- wp_clear_scheduled_hook() — exclude all events associated with a certain hook from the task list;
- wp_next_scheduled() — set new execution time for a certain hook.
However, we recommend scheduling tasks with a plugin instead of changing the code. All manipulations with the WP-Cron system are pretty risky and complex and require a certain knowledge of coding.
Add here lack of user-friendly interface for task planning in the CMS core. But the WP Control plugin can give you this.
How To Schedule Tasks Using A Plugin
Install and activate WP Control. Open the admin dashboard => Tools => Cron Events. Here you can find the list of scheduled Cron events. It should look like this:
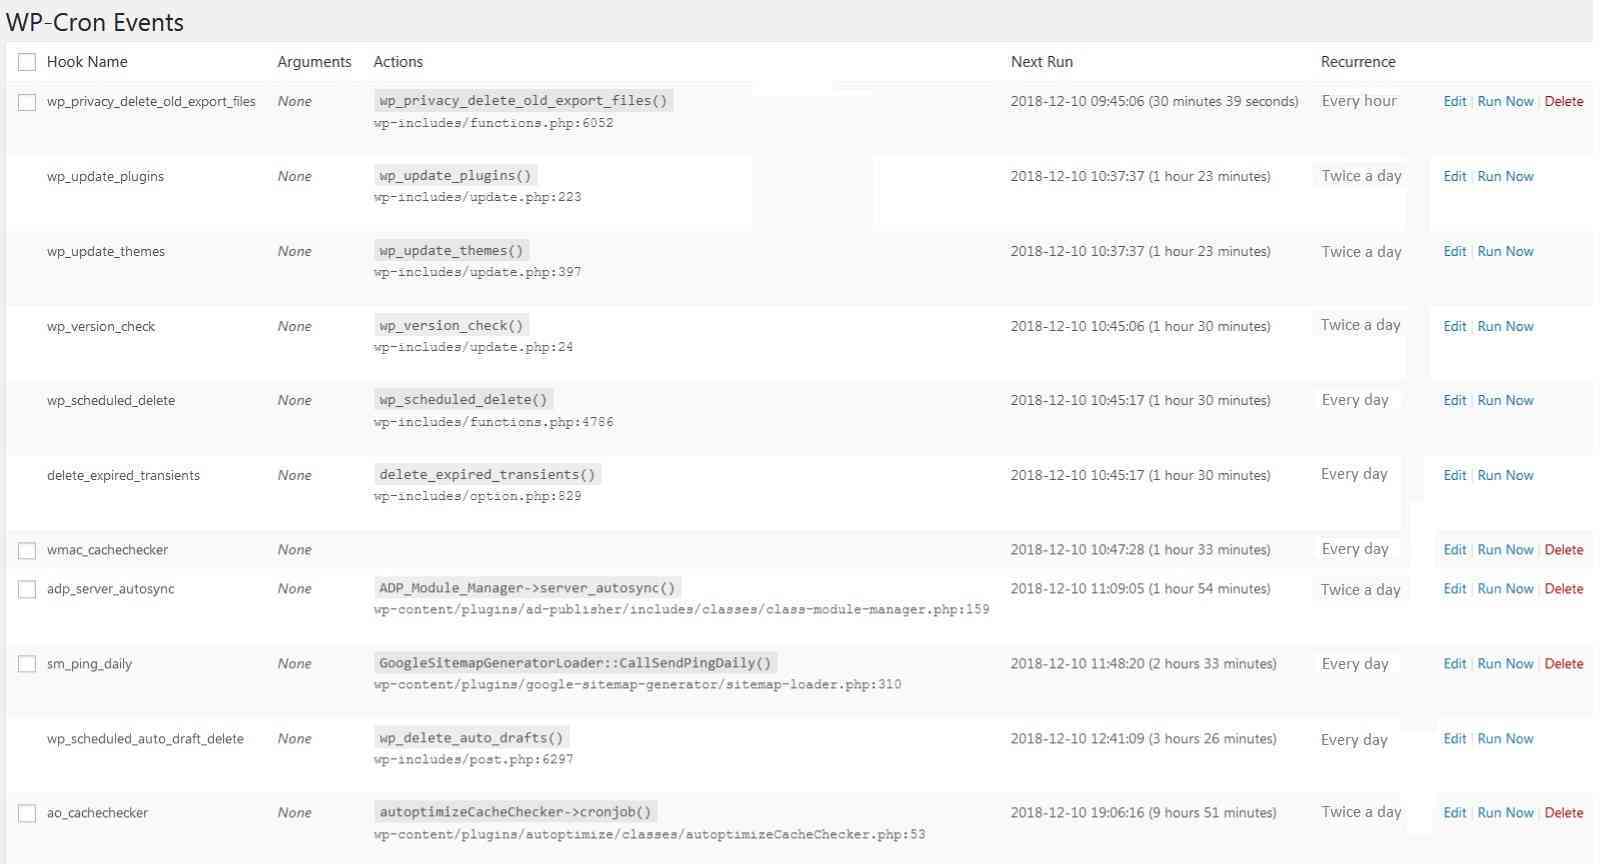
The first column shows Hook Name. It’s a special indicator for the scheduler. Plus it shows what each task does. Perhaps, you’ve noticed that many hooks start with wp_: wp_update_plugins or wp_privacy_delete_old_export_files. Next Run shows details about the time and frequency. Each hook ends with an indicator for future actions: should it be removed, changed or launched. Please, note that tasks from the example above illustrate classic WordPress tasks. It means that if changed they can seriously damage your website.
How To Change The Task Schedule
Click Edit to see the Modify Cron Event tab. Here you can change schedule. For example, if the event wp_update_plugins runs every 12 hours, you can change it to every day (every 24 hours).
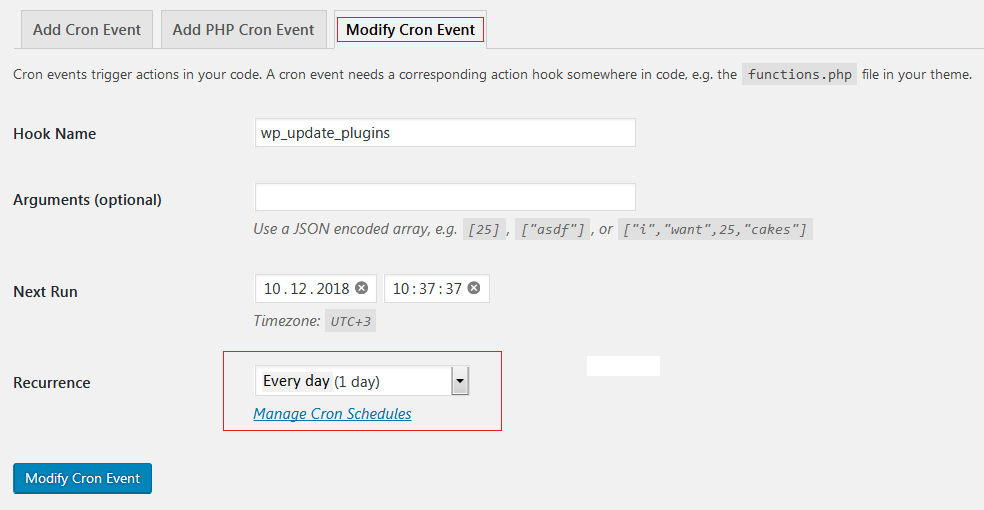
Press Modify Cron Event button to save the settings.
How To Add A New Task
Open the Add Cron Event tab.
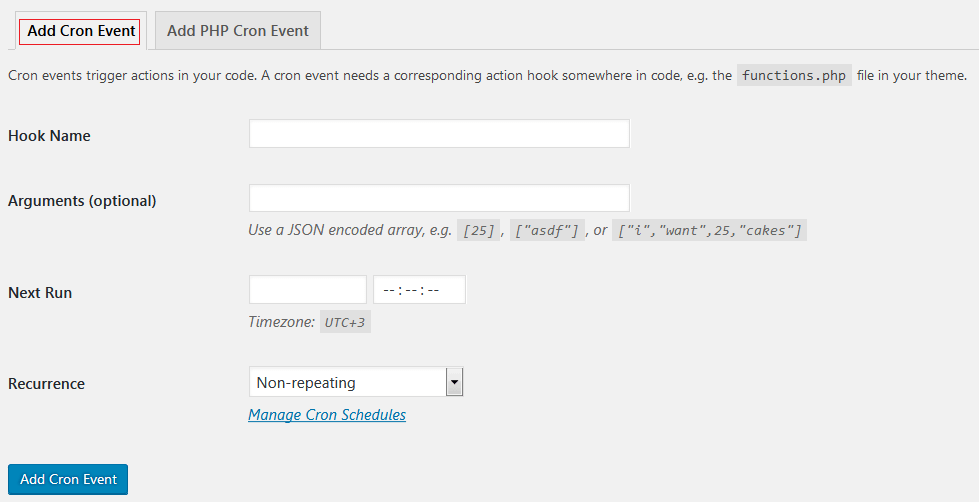
- Fill in Hook name. Don’t use special characters and spaces.
- Use Arguments (optional) to set up new task parameters.
- Enter the start time for Next Run and the frequency for Recurrence.
Don’t forget to save changes by pressing Add Cron Event. Now the important step: add the new hook and the executed function to functions.php.
if ( ! wp_next_scheduled( 'wpschool_custom_cron' ) ) {

wp_schedule_event( time(), 'hourly', 'my_task_hook' );

}

add_action( 'wpschool_custom_cron', 'wpschool_custom_cron_func' );

function wpschool_custom_cron_func() {

wp_mail( 'username@gmail.com', 'Auto message ', 'Auto message text' );

}
This function sends a simple e-mail to a certain address.